The Best Headlight Restoration Kits: 5 Picks Compared
Five real headlight restoration kits compared, from a hand-applied ceramic coating kit to a full drill-driven 3M sanding system, with honest limits for each.

Yellow headlights are not just ugly. A clouded lens scatters light instead of throwing it down the road, so you see less at night and oncoming drivers see a smeared glare. The good news is that this is one of the cheapest fixes on a car, if you buy the right kit for how bad your lenses actually are. This guide compares five headlight restoration kits sold on Amazon in the US: the hand-applied Cerakote ceramic kit, 3M's drill-driven Ultra sanding system, the hand-applied SYLVANIA three stage kit with a UV block clear coat, the budget Turtle Wax kit, and Meguiar's two step maintenance kit. We compared them on restoration method, tools required, sanding grit range, the type of protection they leave behind and how long the job takes. By the end you will know which kit matches your lenses, and which ones will not touch the damage you have.
Table of contents
- Quick picks
- Comparison table
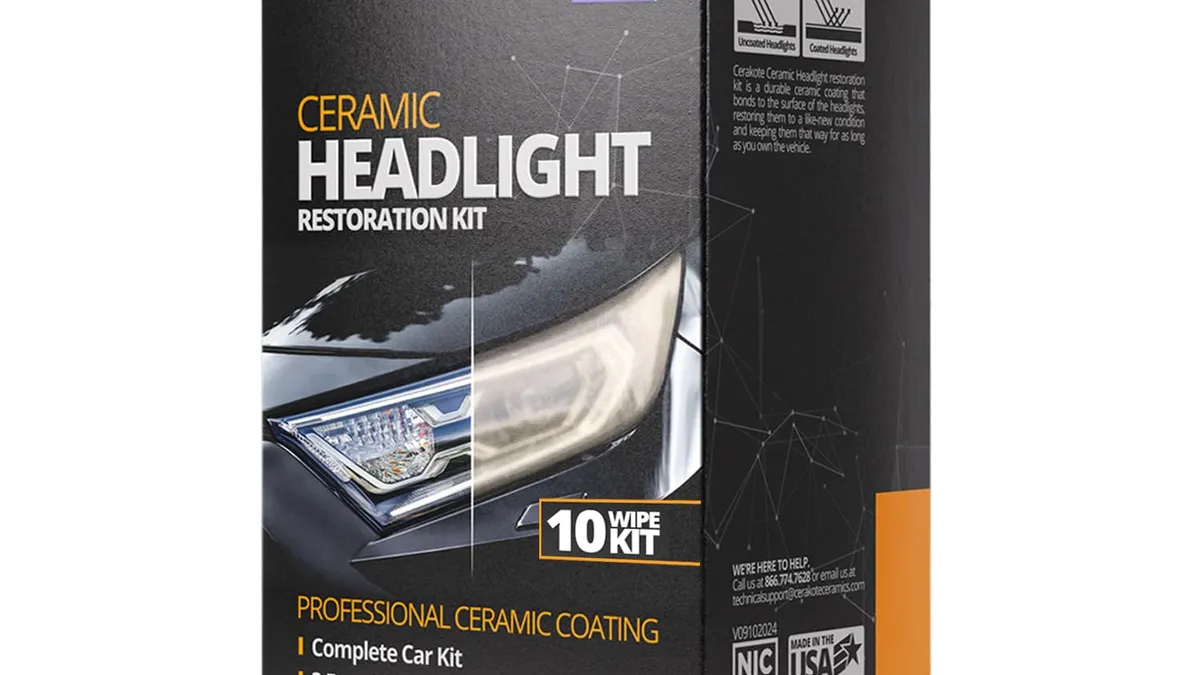
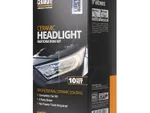
- Best Overall: CERAKOTE Ceramic Headlight Restoration Kit, 10 Wipe Kit
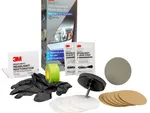
- Best for Heavy Yellowing: 3M Ultra Headlight Restoration Kit 39195
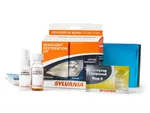
- Best UV Protection: SYLVANIA Headlight Restoration Kit
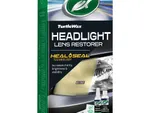
- Best Budget: Turtle Wax Headlight Restoration Kit
- Best for Quick Touch-Ups: Meguiar's Two Step Headlight Restoration Kit
- How we chose
- What to consider before buying
- Chemical kits versus sanding kits
- What actually makes the yellowing come back
- Keeping the result
- Final recommendation
- FAQ
Quick picks
Every pick wins a specific use case. Jump to the full review before you buy.
-
Best Overall
CERAKOTE Ceramic Headlight Restoration Kit, 10 Wipe Kit
A hand-applied kit that clears yellow lenses in about 30 minutes and finishes with a real ceramic UV coat, which is why it is the safest first buy for most drivers.
-
Best for Heavy Yellowing
3M Ultra Headlight Restoration Kit 39195
The only kit here that starts at 500 grit and works with a drill, so it can cut through deep amber haze that wipe-on chemicals just smear around.
-
Best UV Protection
SYLVANIA Headlight Restoration Kit
A three stage sand, clarify and clear coat system that finishes with a proper UV block layer, giving the longest-lasting result of any kit here that needs no power tools.
-
Best Budget
Turtle Wax Headlight Restoration Kit
The cheapest complete sand-clean-seal kit here, which makes it a sensible choice for an older car you are selling or a beater you do not want to spend real money on.
-
Best for Quick Touch-Ups
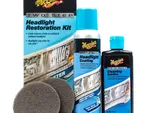
Meguiar's Two Step Headlight Restoration Kit
A two step clean-and-coat kit with no sanding at all, built for lenses that are only starting to dull and for keeping a finished restoration looking fresh.
Compare every pick
| Product | Award | Restoration method | Tools needed | Sanding steps | Protective coating | Time per pair | Best for | Where to buy |
|---|---|---|---|---|---|---|---|---|
| CERAKOTE Ceramic Headlight Restoration Kit, 10 Wipe Kit | Best Overall | Three step: oxidation wipes, wet sand, ceramic coat | None, hand applied, no power tools | 2000 and 3000 grit wet sanding discs, by hand | Ceramic UV top coat | About 30 minutes | Drivers with light to medium yellowing who want a clear, protected lens in one short session without power tools. | Check price for CERAKOTE Ceramic Headlight Restoration Kit, 10 Wipe Kit at Amazon (affiliate link) |
| 3M Ultra Headlight Restoration Kit 39195 | Best for Heavy Yellowing | Machine sand, then polish and seal | Cordless drill required | 500, 800 and 3000 grit discs | Wax protectant | About 45 minutes | Older trucks and daily drivers with lenses that have gone deep yellow or milky, where a chemical wipe will not touch the damage. | Check price for 3M Ultra Headlight Restoration Kit 39195 at Amazon (affiliate link) |
| SYLVANIA Headlight Restoration Kit | Best UV Protection | Three stage sand, clarify and clear coat | None, applied by hand with sanding papers | 400, 1000 and 2000 grit papers | UV block clear coat | About 45 minutes | Owners who want the longest gap before the yellowing comes back and are willing to spend 45 careful minutes to get it. | Check price for SYLVANIA Headlight Restoration Kit at Amazon (affiliate link) |
| Turtle Wax Headlight Restoration Kit | Best Budget | Hand sand, clean, then seal | None, applied by hand with sanding pads | Wet sanding pads included | Clear sealing wipe | About 30 minutes | Older or lower-value vehicles where the goal is passing inspection or looking tidy for a sale, not a multi-year fix. | Check price for Turtle Wax Headlight Restoration Kit at Amazon (affiliate link) |
| Meguiar's Two Step Headlight Restoration Kit | Best for Quick Touch-Ups | Two step chemical clean, then coat | None, applied by hand with the included cloths | None, chemical only | Clear polymer coating | About 20 minutes | Newer cars with a faint haze starting to form, and anyone maintaining lenses that were restored properly a year or two ago. | Check price for Meguiar's Two Step Headlight Restoration Kit at Amazon (affiliate link) |
Swipe sideways to compare every column.
Best Overall
CERAKOTE Ceramic Headlight Restoration Kit, 10 Wipe Kit
by Cerakote
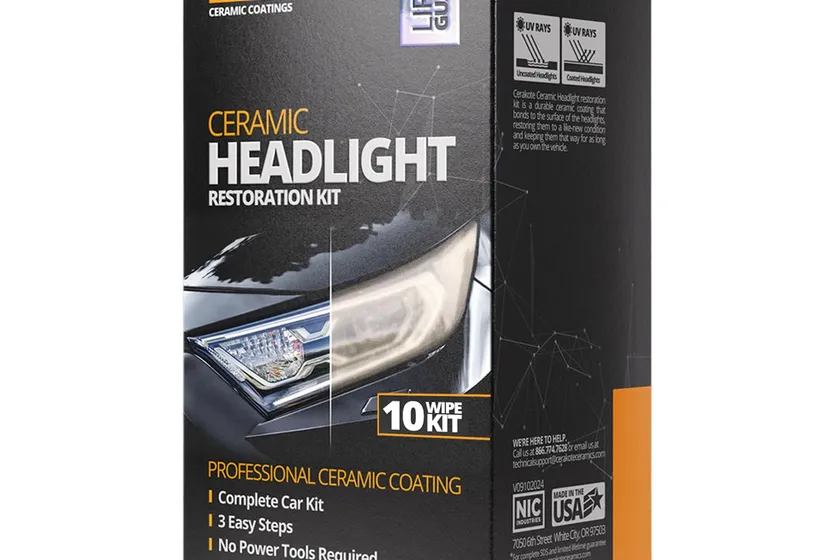
A hand-applied kit that clears yellow lenses in about 30 minutes and finishes with a real ceramic UV coat, which is why it is the safest first buy for most drivers.
What we like
- No drill needed, and the wet sanding is done by hand, so it is hard to gouge a lens
- Ceramic top coat blocks UV, which is the actual cause of the yellowing coming back
- Oxidation wipes do most of the work first, so the sanding step is light and short
- Cleanest results of any hand-applied kit here on light to medium oxidation
What we don't
- Its finest grits start at 2000, so lenses with deep amber or peeling clear coat still need a coarser kit first
- The ceramic step must go on a fully dry lens in dry weather, which rules out a quick job after rain
- Wipes are single use, so a second attempt on a stubborn light burns through the pack fast
| Restoration method | Three step: oxidation wipes, wet sand, ceramic coat |
|---|---|
| Tools needed | None, hand applied, no power tools |
| Sanding steps | 2000 and 3000 grit wet sanding discs, by hand |
| Protective coating | Ceramic UV top coat |
| Time per pair | About 30 minutes |
| Install difficulty | Easy |
| Price bracket | $$ |
The Cerakote kit wins Best Overall because it solves the two problems that sink most headlight jobs. It does the cutting with oxidation wipes and light hand sanding, so you cannot ruin a lens with a drill you have never used on plastic. And it ends with a ceramic coat instead of a wax, so the fix has something standing between the lens and the sun.
That second part matters more than people expect. Almost every cheap restoration works on day one. What separates them is month six. Headlights turn yellow because the factory UV layer wears off and the raw polycarbonate underneath cooks. If a kit only polishes and waxes, the sun starts over on bare plastic within weeks. The ceramic step here is the closest a wipe-on product gets to replacing that lost factory layer.
The honest limitation is cutting power. The sanding here starts at 2000 grit, which is a finishing grade, not a cutting one. On a lens that has gone deep amber, is crazed with fine cracks, or has a clear coat flaking off in patches, this kit will lift some color and leave the rest. Those lights need a coarser start, which is a different job with a different tool.
There is a smaller catch too. The coating wants a clean, dry surface and dry weather while it sets. A rushed application in humid air or on a lens that is still damp is the main reason owners report streaks.
Buy this if your lights look tired rather than destroyed and you want the whole job done in a driveway session. If they are far gone, start with the 3M Ultra kit instead, and if you only need a 10 minute freshen-up on lights that are still mostly clear, the Meguiar’s two step is quicker and simpler.
Research-based pick: this recommendation is based on product data, owner feedback and comparison with products we have tested, not on direct hands-on testing.
Buy it if: Drivers with light to medium yellowing who want a clear, protected lens in one short session without power tools.
Skip it if: Your lenses are deeply clouded, pitted or peeling, where the 3M Ultra kit and its 500 grit start does the real cutting.
Best for Heavy Yellowing
3M Ultra Headlight Restoration Kit 39195
by 3M
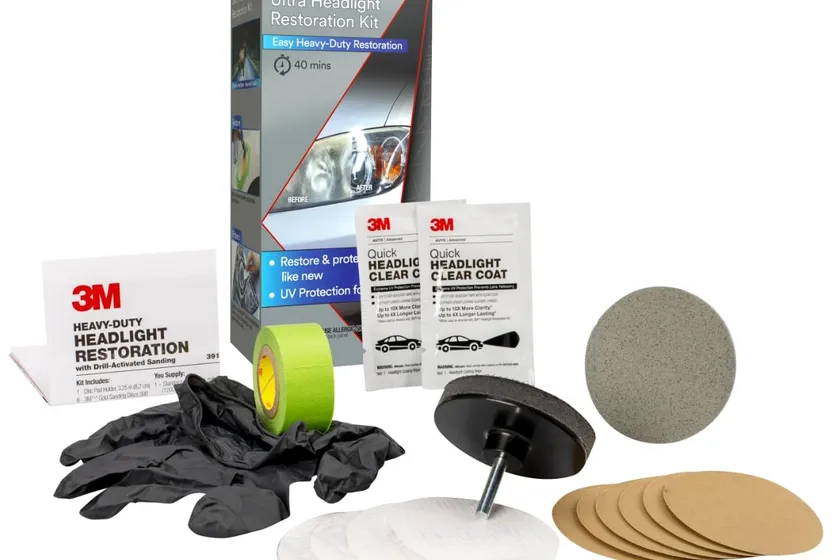
The only kit here that starts at 500 grit and works with a drill, so it can cut through deep amber haze that wipe-on chemicals just smear around.
What we like
- Full 500, 800 and 3000 grit progression removes the damaged outer layer instead of polishing over it
- Drill-driven discs do the hard work, so a badly oxidized pair still finishes in under an hour
- Masking tape is in the box, which protects the paint right next to the lens
- 3M sells the discs separately, so you can top up a stage instead of rebuying the kit
What we don't
- You must own a cordless drill, which pushes the true cost up for anyone who does not
- Sanding plastic is unforgiving: too much pressure or a dry disc leaves swirl marks you then have to chase out
- The kit finishes with a wax protectant rather than a UV clear coat, so yellowing returns sooner than with the Cerakote or SYLVANIA finish
| Restoration method | Machine sand, then polish and seal |
|---|---|
| Tools needed | Cordless drill required |
| Sanding steps | 500, 800 and 3000 grit discs |
| Protective coating | Wax protectant |
| Time per pair | About 45 minutes |
| Install difficulty | Moderate |
| Price bracket | $ |
Every other kit in this guide is a finishing product. The 3M Ultra kit is a repair. It is the pick when a lens has passed the point where polish helps, and the only real answer is to take the ruined surface off and build a new one.
What makes it different is the grit range. Starting at 500 grit sounds aggressive, and it is, but that is exactly what deep oxidation needs. The 800 grit step erases the 500 grit scratches, the 3000 grit step erases those, and by the end you have flat, fresh plastic instead of a polished layer of damage. Chemical kits cannot do this, because there is nothing to dissolve. The haze is physical.
The tradeoff is skill and gear. You need a cordless drill, you need to keep the discs wet, and you need to move steadily rather than parking the pad in one spot. Owners who rush this step end up with a clear lens covered in fine swirls, which then takes a polish pass to fix. Two minutes of watching the technique before you start saves that.
The other honest weakness is the finish. The kit protects with a wax rather than a bonded UV clear coat. A wax looks great immediately and wears off. Plenty of people run this kit for the sanding and then apply a UV clear coat or ceramic product on top, which is a smart combination.
Choose it if your lights are genuinely bad. If they are merely dull, the Cerakote kit gets you there faster with far less risk.
Research-based pick: this recommendation is based on product data, owner feedback and comparison with products we have tested, not on direct hands-on testing.
Buy it if: Older trucks and daily drivers with lenses that have gone deep yellow or milky, where a chemical wipe will not touch the damage.
Skip it if: You have no drill or you are nervous about sanding painted bodywork, in which case the SYLVANIA kit gets similar depth by hand.
Best UV Protection
SYLVANIA Headlight Restoration Kit
by SYLVANIA
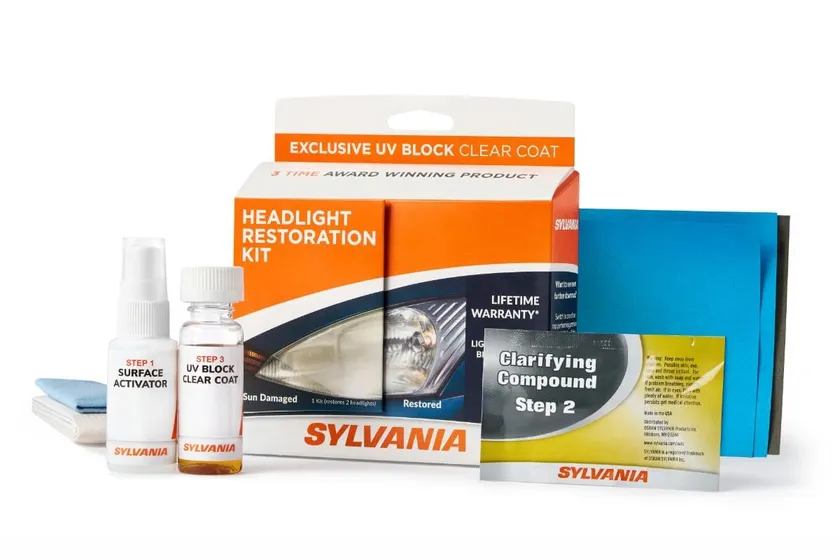
A three stage sand, clarify and clear coat system that finishes with a proper UV block layer, giving the longest-lasting result of any kit here that needs no power tools.
What we like
- Ends with a bonded UV block clear coat, the closest thing to replacing the factory lens coating
- Includes 400, 1000 and 2000 grit papers, so it can handle heavier haze than a wipe-only kit
- Everything is hand-applied, so no drill is needed to get near-professional depth
- Long track record with tens of thousands of owner ratings behind it
What we don't
- The clear coat wipe sets fast and shows streaks if you stop, overlap or go back over a section
- Hand sanding two lenses is slow and tiring compared to the drill-driven 3M discs
- Enough material for one vehicle only, so a second car means a second kit
| Restoration method | Three stage sand, clarify and clear coat |
|---|---|
| Tools needed | None, applied by hand with sanding papers |
| Sanding steps | 400, 1000 and 2000 grit papers |
| Protective coating | UV block clear coat |
| Time per pair | About 45 minutes |
| Install difficulty | Moderate |
| Price bracket | $$ |
The SYLVANIA kit earns Best UV Protection because it treats the real problem rather than the symptom. Yellow headlights are a coating failure. The factory clear layer breaks down, the sun reaches raw plastic, and the plastic goes amber. Sanding removes the damage. Only a new UV layer stops it happening again, and this kit puts one down.
What makes it different from the other hand-applied picks is that it does both jobs properly. The graded papers take the surface back the way the 3M kit does, just with your hand instead of a drill. Then the surface activator and clarifying compound level things out, and the UV block clear coat seals it. Wipe kits skip the middle of that sequence, which is fine on light haze and not enough on anything worse.
The biggest real limitation is the clear coat step itself. It goes on in one pass and starts to set almost immediately. Stop halfway, overlap a stroke or try to fix a thin spot and you get a visible line that only comes out by sanding back and starting again. Read the instructions before you open that packet, not during.
The other cost is time and effort. Hand sanding a pair of large truck lenses is genuine work, and there is only enough in the box for one vehicle.
Pick this if durability is what you care about. If you want speed and a lower chance of a visible mistake, the Cerakote kit is the friendlier route, and if the lenses are badly gone, run the 3M Ultra kit for the cutting and finish with a UV coat.
Research-based pick: this recommendation is based on product data, owner feedback and comparison with products we have tested, not on direct hands-on testing.
Buy it if: Owners who want the longest gap before the yellowing comes back and are willing to spend 45 careful minutes to get it.
Skip it if: You want a fast, forgiving job, since the one-pass clear coat wipe punishes hesitation in a way the Cerakote wipes do not.
Best Budget
Turtle Wax Headlight Restoration Kit
by Turtle Wax
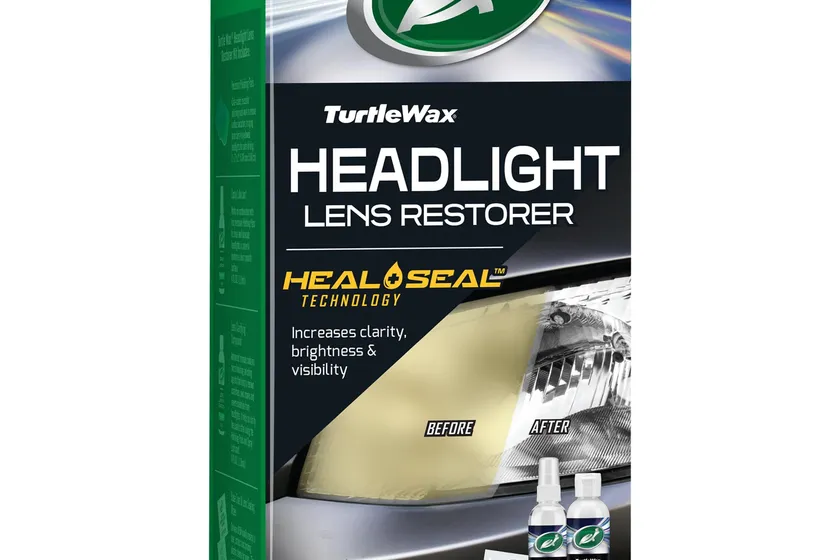
The cheapest complete sand-clean-seal kit here, which makes it a sensible choice for an older car you are selling or a beater you do not want to spend real money on.
What we like
- Lowest cost of the five and still includes sanding pads rather than polish alone
- Everything is hand-applied, so there is no drill or extra tool to buy
- Big clarity jump on lightly to moderately yellowed lenses for very little outlay
- Widely stocked, so you can grab one locally the same day you need it
What we don't
- The sealing wipe is a light protectant, not a UV clear coat, so results fade faster than the SYLVANIA or Cerakote finish
- Owner ratings are the weakest in this group, with repeat complaints about lenses hazing again within months
- Enough material for one vehicle only, and the sanding pads wear out quickly on large truck lenses
| Restoration method | Hand sand, clean, then seal |
|---|---|
| Tools needed | None, applied by hand with sanding pads |
| Sanding steps | Wet sanding pads included |
| Protective coating | Clear sealing wipe |
| Time per pair | About 30 minutes |
| Install difficulty | Easy |
| Price bracket | $ |
The Turtle Wax kit is here to answer one question honestly: what is the least you can spend and still get clear headlights this afternoon? The answer is this box. It gives you sanding pads, a clarifying compound and a sealing wipe for the price of a couple of coffees, and on a moderately yellow lens the before-and-after is dramatic.
What makes it different from the other budget-minded option, the 3M Ultra kit, is that it needs nothing else. The 3M kit is also cheap but assumes you own a cordless drill. This one assumes nothing. That matters for someone who just wants their inspection to pass or their trade-in to look cared for.
The real limitation is durability, and it is not a small one. The last step is a sealing wipe rather than a bonded UV clear coat. It protects for a while, but it is closer to a wax than to the layer the factory put on. Owner feedback reflects that, with a rating clearly below the rest of this group and a recurring theme of the haze creeping back within a season or two. If you plan to keep the car, you are signing up to do this again.
The sanding pads are also modest. On a set of large pickup lenses they load up and wear down before the job feels finished.
Buy it for a car you will not own long, or as a fast tidy-up. If you want the same job to last, spend a little more on the SYLVANIA kit, which finishes with a genuine UV coating.
Research-based pick: this recommendation is based on product data, owner feedback and comparison with products we have tested, not on direct hands-on testing.
Buy it if: Older or lower-value vehicles where the goal is passing inspection or looking tidy for a sale, not a multi-year fix.
Skip it if: This is your daily driver and you do not want to redo the job next summer, where the SYLVANIA kit is worth the extra spend.
Best for Quick Touch-Ups
Meguiar's Two Step Headlight Restoration Kit
by Meguiar's
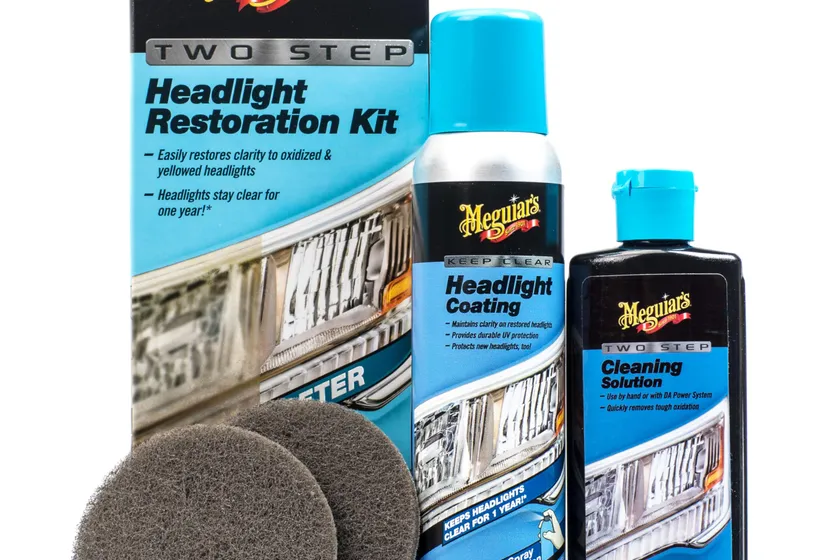
A two step clean-and-coat kit with no sanding at all, built for lenses that are only starting to dull and for keeping a finished restoration looking fresh.
What we like
- Fastest job in this guide, with two wipes and roughly 20 minutes from start to done
- No abrasives anywhere in the process, so there is zero risk of scratching a good lens
- Sealed packets store well, so a spare set can live in the trunk for touch-ups
- Works as a maintenance coat over a lens you already sanded with another kit
What we don't
- Almost no cutting power, so a lens that has gone properly yellow will look barely changed
- Protection is a polymer coating rather than a ceramic or UV clear coat, so it needs redoing more often
- The small packets are easy to underuse on large SUV or truck lenses, which leaves patchy coverage
| Restoration method | Two step chemical clean, then coat |
|---|---|
| Tools needed | None, applied by hand with the included cloths |
| Sanding steps | None, chemical only |
| Protective coating | Clear polymer coating |
| Time per pair | About 20 minutes |
| Install difficulty | Easy |
| Price bracket | $$ |
Most headlight kits are sold as rescues. The Meguiar’s two step is better understood as upkeep. Step one is a cleaning solution that lifts the early film of oxidation. Step two is a clear polymer coating that slows the next round of damage. There is no sandpaper in the box and none needed.
That makes it the right tool at two specific moments. The first is a car that is three or four years old, where the lens is not yellow yet but has lost its wet look. Catching it there is much easier than fixing it later. The second is after a full restoration. If you sanded your lenses with the 3M Ultra kit last spring, a packet of this every few months keeps the finish from sliding backwards.
Used outside those two moments, it disappoints. On a lens with real amber depth, a chemical cleaner with no abrasive has nothing to remove. Owners who buy it expecting a rescue kit are the ones who report no visible change, and that is a mismatch of job to tool rather than a bad product.
The other honest weakness is coverage. The packets are small, and people applying them to full-size truck lenses tend to spread the product too thin and end up with uneven gloss. Use one packet per pair of lights and do not try to stretch it.
Buy it to protect lights that are still in decent shape. If they are already yellow, the Cerakote kit is the minimum step up, and if they are badly clouded, only the 3M Ultra kit will actually cut the damage away.
Research-based pick: this recommendation is based on product data, owner feedback and comparison with products we have tested, not on direct hands-on testing.
Buy it if: Newer cars with a faint haze starting to form, and anyone maintaining lenses that were restored properly a year or two ago.
Skip it if: Your headlights are already amber or cloudy enough that oncoming drivers notice, which is 3M Ultra or SYLVANIA territory.
How we chose#
This is a research-based guide, not a hands-on restoration test. We started from the kits that actually sell and hold up in owner reviews on Amazon in the US, then compared what is physically in each box: the restoration method, whether it sands or only cleans, the grit range where sanding is involved, what tools you need to supply, and most importantly what kind of protection the final step leaves on the lens.
That last point drove the ranking more than anything else. Headlight yellowing is a UV problem, so a kit that polishes beautifully and then seals with a wax is treating the symptom. We gave weight to kits that finish with a bonded UV clear coat or a ceramic layer, because that is what decides whether the job lasts a season or several years.
We also deliberately spread the picks across severity levels rather than ranking five near-identical wipe kits. One kit here is for lenses that are barely dull, one is for lenses that are almost opaque, and the rest sit in between. Kits with thin review histories or vague claims about what is in the box were passed over.
What to consider before buying#
Start by being honest about how bad your lenses are. Stand back ten feet at dusk. If the lights look slightly milky, a chemical kit will fix them. If they are visibly amber, or you can see a flaking clear coat, you need abrasives. Buying a wipe kit for a badly cooked lens is the single most common reason people say restoration kits do not work.
Next, decide what tools you are willing to use. A drill makes the hard jobs much faster and makes swirl marks much easier to create. If you have never sanded plastic, a hand kit is slower and far more forgiving.
Then look at the last step in the instructions. If the final line is a wax or a sealant, plan on redoing the work. If it is a clear coat or a ceramic coating, you are getting a real repair. This is the same logic behind choosing a durable car wax that survives more than a few washes rather than one that looks good for a weekend.
Chemical kits versus sanding kits#
The dividing line in this guide is how much material the kit removes. The Meguiar’s two step is purely chemical: it dissolves and lifts the surface film. It is quick, it cannot scratch anything, and it runs out of ability the moment the damage goes deeper than the surface.
The other four sand. The 3M Ultra, SYLVANIA and Turtle Wax kits start with coarse grits and physically take the ruined layer off. The Cerakote kit sits in between: oxidation wipes first, then a short hand sanding step at 2000 and 3000 grit, which is fine enough to refine a lens but not coarse enough to rescue a badly cooked one. Sanding fixes damage nothing else will touch, and it demands more care and more time. There is also a hybrid approach plenty of owners use: cut with the 3M kit, then apply a ceramic or UV coating from another product on top. That gets you the cutting power of one and the protection of the other.
What actually makes the yellowing come back#
A new headlight leaves the factory with a hard UV layer on the outside. Sun, road grit and washing wear it away, and once the raw polycarbonate is exposed it starts to oxidize. That is the yellow you see.
This matters when you shop, because it means the polish is the easy part and the coating is the whole game. A lens polished perfectly and left bare will yellow again faster than it did the first time, since it no longer has any factory protection at all. That is why the SYLVANIA clear coat and the Cerakote ceramic layer rank above the wax-finished kits here, even when the immediate results look similar.
Keeping the result#
Two habits protect the work. Park out of direct sun where you can, and avoid aiming a pressure washer at close range on the lens. Both are small changes that add a lot of life to a coating.
It is also worth doing this job at the same time as the rest of your night-driving maintenance. Clear lenses and wiper blades that do not smear solve the same problem from two directions, and a streaked windshield will undo most of the visibility you just bought.
Final recommendation#
Most drivers should buy the Cerakote kit. It handles the light to medium yellowing that describes the majority of cars on the road, it takes about 30 minutes, it needs no power tools, and it finishes with real ceramic UV protection.
If your lenses are genuinely bad, deep amber or milky, the 3M Ultra kit is the only pick here with the grit range to fix them, provided you own a cordless drill. If they are that bad and you do not have a drill, the SYLVANIA kit gets you there by hand and leaves the most durable coating in this guide.
The Turtle Wax kit is the right call for a car you are selling or a beater you do not want to invest in, as long as you accept it will need doing again. And the Meguiar’s two step is not a rescue kit at all, it is maintenance: perfect for a newer car that is just starting to dull, or for protecting a restoration you already did.
Frequently asked questions
Do headlight restoration kits work on every car?
They work on plastic lenses, which is almost every car built since the early 1990s. They do not work on glass headlights, common on older vehicles, because glass does not oxidize the way polycarbonate does. If your lens is glass and looks foggy, the haze is usually on the inside from a failed seal, and no polish applied outside will reach it.
How long does a headlight restoration last?
It depends almost entirely on the last step. A kit that finishes with a wax or light sealant, like the Turtle Wax and 3M Ultra kits, often starts to fade within six to twelve months in strong sun. A kit that leaves a bonded UV layer, like the SYLVANIA clear coat or the Cerakote ceramic coat, usually holds up far longer. Parking in shade or a garage adds years to any of them.
Do I need a drill?
Only for the 3M Ultra kit, which drives its 500, 800 and 3000 grit discs off a cordless drill. The Cerakote, SYLVANIA, Turtle Wax and Meguiar's kits are all applied by hand. If you do not own a drill and your lenses are badly yellowed, the SYLVANIA kit is the way to get similar depth without buying a tool.
What is the most common mistake people make?
Skipping the masking tape. Sanding compound and abrasive discs will dull the paint right next to the lens in seconds, and that damage is much harder to fix than the headlight was. The 3M kit includes tape for this reason. The second most common mistake is applying the final coating in humid weather or on a lens that is still damp, which causes streaks.
Why do some kits cost twice as much as others?
You are paying for the protection, not the polish. Nearly every kit can make a lens look clear on day one. The cheaper kits stop there and seal with a wax. The more expensive ones include a bonded UV clear coat or a ceramic layer, which is the part that decides whether you do this job once or every year.
Can I restore headlights that are cracked or fogged on the inside?
No. These kits only work on damage to the outer surface. If moisture is trapped inside the housing, the seal or a vent has failed and the fix is drying and resealing the housing or replacing it. If the lens is cracked, sanding will not close it, and water will keep getting in.
About the author
Dale Harper Lead Gear Editor
Dale is a longtime truck owner and former accessory-shop tech who builds these guides from manufacturer fit data, aggregated owner feedback and direct spec comparison. Research-based picks are always labelled as such.
Daily driver: 2022 Ford F-150 XLT SuperCrew
- Tonneau covers and bed accessories
- Seat covers and interior protection
- Lift kits and suspension